Navigating Millicent's Questline in Elden Ring: A Comprehensive Guide to Triumph in Caelid and Beyond
- 529

The world of **Elden Ring** is a vast one, filled with intricate lore and challenging quests that challenge even seasoned players. Among its many questlines, the journey of Millicent stands out due to its daunting setting in the unforgiving region of Caelid. This guide aims to introduce players to Millicent’s questline, providing detailed instructions and tips to navigate through every twist and turn. From the first encounter with the enigmatic Gowry to the gripping finale with Millicent, follow along to ensure a smooth progression through this engaging storyline.
Chapter 1: The Start of It All - Meeting Gowry
Your adventure begins in the hostile lands of Caelid. To kick off Millicent's questline, locate an old scholar named **Gowry**, who resides in a humble shack along the road towards **Sellia, Town of Sorcery**. Engaging in conversation with Gowry is essential. He will reveal his desire for the **Unalloyed Gold Needle**, setting you on a path of quests that won't be easy.

Be sure to thoroughly exhaust his dialogue options to gain vital information before moving on to the next step.
Chapter 2: A Battle in the Swamps
After conversing with Gowry, you'll need to venture westward into the swamp to confront **Commander O’Neil**. This boss encounter will be challenging, so prepare your character adequately before engaging in battle. Use any guides available for tactical advice on how to successfully take down this formidable foe. Upon his defeat, you will receive the coveted Unalloyed Gold Needle.
Chapter 3: Returning to Gowry
With the needle secured, make your way back to Gowry’s shack. Speak with him again to progress the story. After this, fast travel to a nearby Site of Grace and return to him once more. This correspondence may seem tedious, but it is crucial to progressing through the quest. Once completed, Gowry will repair the needle and divulge information regarding Sellia, Town of Sorcery, indicating the next destination.
Chapter 4: The Church of the Plague
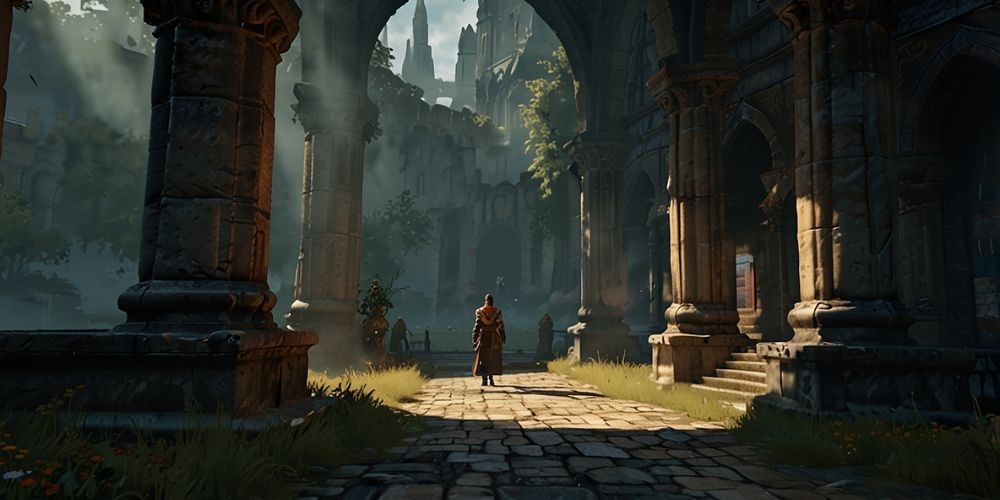
Your next stop is the **Church of the Plague**, which requires you to navigate through Sellia. Light all the braziers and defeat the local boss to successfully reach the church. If you've previously been transported to the **Beastial Sanctum**, you can opt for fast travel southward to the Church.
Upon arrival, give Millicent the Unalloyed Gold Needle. Rest at the nearby Site of Grace to refresh her dialogue options. After conversing with her sufficiently, she will bestow upon you the **Prosthesis-Wearer Heirloom** talisman, concluding the first chapter of her quest. From here, you must return to Gowry's place yet again.
Chapter 5: The Shaded Castle Quest
On your subsequent visit to Gowry's shack, you'll discover Millicent there as well. Exhaust her dialogue to gain further insight into her story. Once you've gathered all the information, your journey continues north to the **Shaded Castle**. This area is nestled between **Mt. Gelmir** and **Altus Plateau** and harbors the **Valkyrie's Prosthesis**.
Navigate through the castle and defeat a **Cleanrot Knight** guarding a small chamber. Inside, you'll find the prosthesis, an important item that will allow Millicent's story to progress when you return to her.
Chapter 6: The Altus Plateau Connection
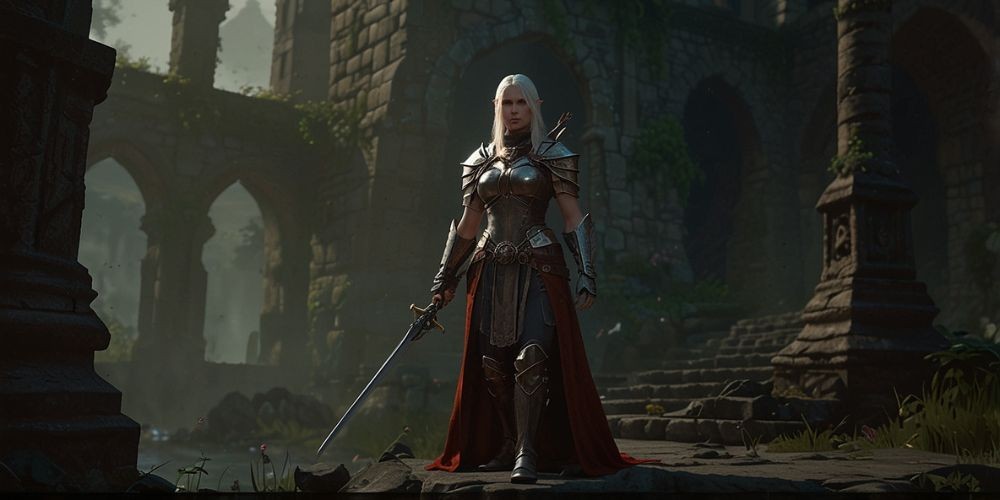
After acquiring the Valkyrie's Prosthesis, journey to the **Erdtree-Gazing Hill Site of Grace** in the **Altus Plateau**. Here, Millicent can be found once again. Hand her the Valkyrie’s Prosthesis and engage in conversation until you’ve exhausted all her available dialogue. Your next objective lies to the north, where a formidable boss awaits.
Chapter 7: The Godskin Apostle Challenge
Ascend towards the **Windmill Village**, known for its eerie enemies and the **Godskin Apostle** that resides at its peak. This showdown can be intense for players who are under-leveled; however, it becomes manageable once you master the Apostle's attack patterns. Defeating this foe will reward you with another chance to speak with Millicent. Rest at the Site of Grace nearby to refresh your abilities for the upcoming challenges.
Chapter 8: The Journey into the Mountains
As you advance in the story, you'll eventually reach the **Mountaintops of the Giants**. Here, find Millicent near the **Snow Valley Ruins Site of Grace**. Once again, exhaust her dialogue to gather more narrative threads, setting the stage for the next significant phase of her quest. Now, your task is to locate the two halves of the **Haligtree Medallion**, which are essential to access the elusive **Haligtree** area.
Chapter 9: Assembling the Haligtree Medallion

The **first half** of the medallion is located at the top of **Castle Sol**, obtained after defeating **Commander Niall**, while the **second half** lies hidden in the **Village of Albinaurics**. Interact with a particular pot in the village, which will transform into a decrepit old man who will provide you with the other half of the medallion.
Chapter 10: The Path to the Haligtree
With both halves of the Haligtree Medallion in hand, you're ready to ascend the **Grand Lift of Rold** once again. This lift will lead you deeper into a new region of the mountains. Here, as you explore, ensure you solve the **Ordina, Liturgical Town** puzzle, echoing the challenges faced in **Sellia**.
Chapter 11: The Prayer Room Encounter
While exploring the **Haligtree**, look for the **Prayer Room** Site of Grace, where Millicent will be waiting for you. Speak with her until all dialogue options are exhausted. This is a crucial step before facing your next major adversary, leading you closer to the climax of her quest.
Chapter 12: Confronting the Ulcerated Tree Spirit

As you traverse deeper into the Haligtree, prepare yourself for a confrontation with an **Ulcerated Tree Spirit**. The environment adds another layer of challenge, as you’ll contend with a pond that inflicts the **Scarlet Rot** effect. Strategize your approach by utilizing the terrain to fight at range. Once vanquished, rest at the nearby **Drainage Channel Site of Grace** to regain your strength.
Chapter 13: The Final Showdown
After resting, travel back to the area where you defeated the Ulcerated Tree Spirit. Here, you will notice two summon signs: a yellow one for assisting Millicent against invaders, and a red one offering a distinct choice. Helping Millicent will initiate a challenging battle against four NPC invaders. Team up with her to eliminate all adversaries and emerge victorious. For your efforts, you’ll earn the **Rotten Winged Sword Insignia** talisman.
Chapter 14: Conclusion of the Quest
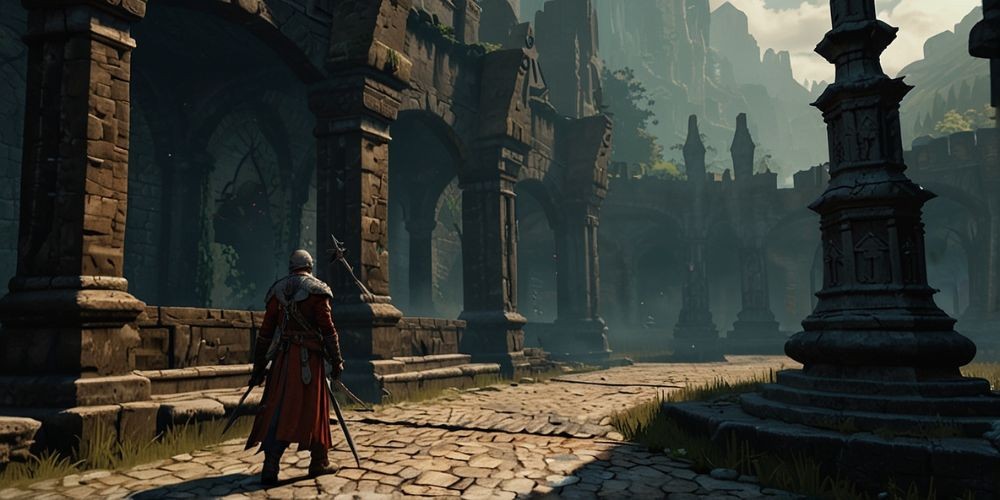
Once you have overcome the invaders, return to Millicent once more. Follow her dialogue and rest at the Drainage Channel Site of Grace. Upon your final return, a somber discovery awaits as Millicent will have passed away. Loot her remains to obtain the **Unalloyed Gold Needle**, which can later be used in a pivotal encounter during the game, specifically after the battle with Malenia to acquire **Miquella's Needle**. This item holds great significance and can be utilized to alter the fate of your journey by reversing the **Frenzied Flame** ending.
Thus concludes the elaborate questline of Millicent in Elden Ring. With this guide, you are equipped not only to complete her narrative but also to explore deeper into the rich lore and complex gameplay that this title offers. May your journey through Elden's realms be fruitful and thrilling!